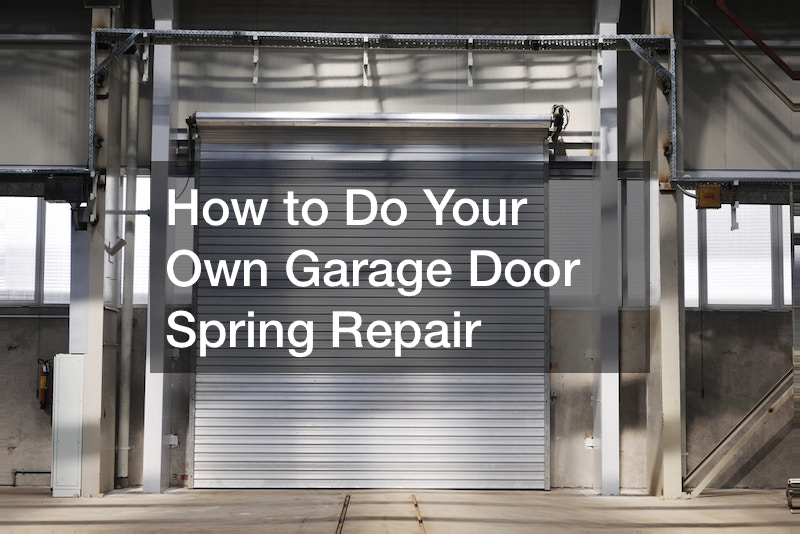

In this comprehensive YouTube tutorial on garage door maintenance, a seasoned technician takes you through the meticulous process of replacing torsion springs, ensuring your garage door operates smoothly and safely. Let’s break down the garage door spring repair provided in the video.
At the outset, the technician advises viewers on identifying a broken spring and underscores the significance of safety precautions.
The unbroken spring is skillfully unwound, table drums are removed, and any imperfections are filed down for optimal performance. The new springs are then securely fitted onto the tube.
Moving forward, the technician delves into the nitty-gritty of spring replacement, demonstrating the removal of the old spring and the seamless integration of the new one. Cable attachment, set screw tightening, and left-hand spring winding are expertly explained, all while stressing the importance of proper tools and safety measures.
As the tutorial progresses, winding the torsion spring takes center stage. The technician emphasizes adhering to the recommended number of turns based on door size, cautioning against potential dangers and unnecessary force application. Checking the door’s balance follows, with adjustments made as needed. The reattachment of the operator and functionality testing conclude this crucial segment.
In the final section, viewers are advised on the post-adjustment phase. The technician highlights the need for operators to adapt to new springs, suggesting easy adjustments to force or sensitivity settings. The importance of obtaining the correct springs tailored to door specifications is underscored, with the technician extending expertise and assistance through their tech line.
This tutorial equips viewers with the knowledge and confidence to tackle garage door torsion spring replacement while prioritizing safety, precision, and optimal functionality.
